Crafting intricate curves in wood can be a challenging task, but with the right techniques and tools, you can achieve smooth and precise cuts.
This guide will provide you with essential tips to master the art of cutting curves in wood.
Key Takeaways:
- The importance of selecting the right tool.
- Techniques for achieving smooth curves.
- Safety precautions to consider.
- The role of practice in perfecting your cuts.
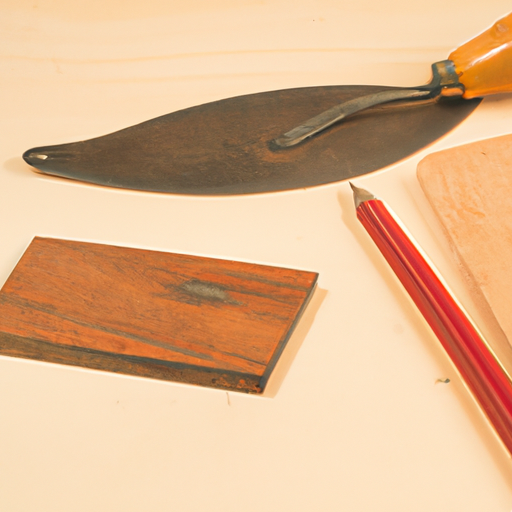
Selecting the Right Tool
The tool you choose plays a significant role in the outcome of your cuts. While several tools can cut curves, some are more suited for specific tasks.
1. Jigsaw
A jigsaw is versatile and perfect for cutting both straight lines and curves. Its narrow blade allows for tight turns and intricate designs.
2. Band Saw
For larger projects or when you need to make consistent curved cuts, a band saw is ideal. Its continuous looped blade ensures smooth cuts.
3. Coping Saw
A handheld tool, the coping saw is perfect for detailed interior cuts and tight curves.

Techniques for Smooth Curves
Achieving a smooth curve requires more than just the right tool. Here are some techniques to consider:
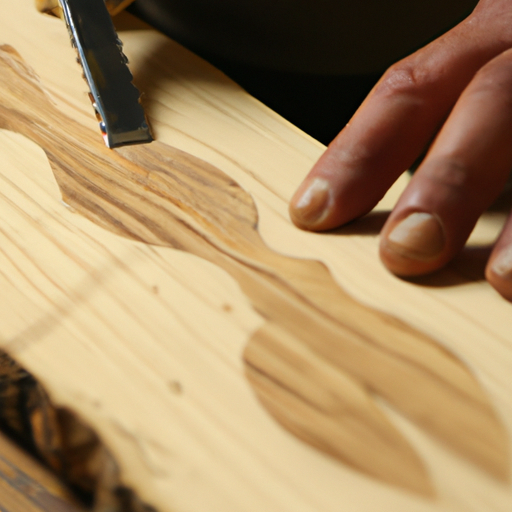
1. Plan Your Cuts
Before you start cutting, sketch the curve on the wood using a pencil. This will serve as a guide and ensure accuracy.
2. Start with a Pilot Hole
If you’re using a jigsaw, drill a pilot hole at the start of your curve. This will make it easier to insert the jigsaw blade and start the cut.
3. Move Slowly
Rushing can lead to jagged edges. Move the tool slowly, especially when navigating tight curves.
Safety Precautions
Safety should always be a priority when working with woodworking tools.
1. Wear Safety Gear
Always wear safety glasses to protect your eyes from flying debris. If you’re using power tools, consider wearing ear protection.
2. Secure the Wood
Clamp the wood piece securely to your workbench. This prevents it from moving and ensures a clean cut.
3. Keep Tools Sharp
Dull tools can cause the wood to splinter or result in uneven cuts. Regularly sharpen your tools to maintain their efficiency.

Advanced Techniques for Precision Cuts
Mastering the art of cutting curves in wood requires understanding and implementing advanced techniques.
1. Using Relief Cuts
For tighter curves or complex patterns, consider making relief cuts. These are straight cuts that extend from the edge of the wood to the cut line, allowing for easier maneuvering of the tool.
2. Sanding for Perfection
After cutting, always sand the edges to smooth out any imperfections. Start with coarse sandpaper and gradually move to finer grits for a polished finish.
3. Using a Template
For repetitive curve cuts or intricate designs, using a template can be invaluable. Trace the template onto the wood and follow the outline for consistent results.
The Importance of Practice
Like any skill, practice is crucial when it comes to cutting curves in wood. Start with scrap wood to hone your technique before moving on to your main project.
Frequently Asked Questions (FAQs)
What’s the best wood type for cutting curves?
Softer woods like pine or cedar are generally easier to cut, especially for beginners. However, with the right tools and techniques, hardwoods can also be effectively shaped.
How do I prevent the wood from splintering?
Using sharp tools, making relief cuts, and applying masking tape along the cut line can help reduce splintering.
Can I cut curves in plywood?
Yes, plywood can be used for cutting curves, but it’s essential to use a fine-toothed blade to prevent the layers from separating.