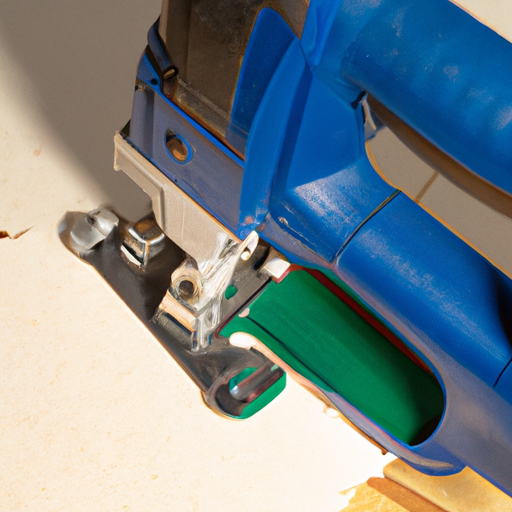
Cutting curves with precision and finesse requires the right tool and technique.
A jigsaw, with its narrow blade and powerful motor, is the ideal tool for this task.
In this guide, we’ll walk you through a step-by-step process to achieve perfect curves using a jigsaw.
Key Takeaways:
- Understand the importance of the right blade.
- Safety precautions are paramount.
- Proper technique ensures smooth curves.
- Practice makes perfect.
Choosing the Right Blade
The blade is the heart of the jigsaw. For cutting curves, it’s essential to select a blade that’s designed for precision and maneuverability.
1. T-Shank vs. U-Shank Blades
While both types can be used, T-shank blades are generally preferred for their stability and quick-change capability.
2. Blade Teeth Configuration
For smoother cuts, opt for a blade with more teeth per inch (TPI). A higher TPI ensures a finer finish, especially on softer materials.

Safety First
Before you start, ensure you’re following safety protocols to prevent accidents.
1. Wear Safety Gear
Always wear safety glasses and hearing protection. Consider using a dust mask if you’re working in a confined space.
2. Secure the Material
Clamp down the material you’re cutting to prevent it from moving. This not only ensures a clean cut but also prevents potential accidents.

Step-by-step Curve Cutting
With safety measures in place and the right blade attached, you’re ready to start cutting.
1. Mark the Cut
Using a pencil or chalk, draw the curve you want to cut on the material.
2. Start the Cut
Place the jigsaw blade on the edge of the material, ensuring it’s aligned with the marked line. Start the jigsaw and let it reach its full speed before you begin the cut.
3. Follow the Curve
Move the jigsaw slowly, following the curve. Let the blade do the work; avoid forcing it through the material.
4. Smooth the Edges
Once the cut is complete, use sandpaper to smooth out any rough edges.

External Resources for Further Guidance
- How to Make Curved Cuts with a Jigsaw
- Jigsaw: How to Cut Nice Curves
- How to Cut Curves Using a Jigsaw
Relevant Internal Links
Advanced Techniques for Cutting Curves
Cutting curves with a jigsaw can be a straightforward process, but mastering advanced techniques can elevate your woodworking skills.
1. Cutting on Different Materials
Different materials require varied approaches. For instance, cutting curves on plywood differs from cutting on acrylic or metal. Adjust the speed and blade type accordingly.

2. Using a Guide
For intricate curves, consider using a guide or template. This ensures precision and consistency, especially for repetitive cuts.
3. Cooling the Blade
When cutting metals or plastics, the blade can heat up. Periodically pause and allow the blade to cool or use cutting oil to reduce friction.

Troubleshooting Common Issues
Every craftsman encounters challenges. Here’s how to address common issues when cutting curves:
1. Rough Edges
If your cuts result in rough edges, consider using a blade with a higher TPI or sand the edges post-cutting.
2. Blade Bending
If the blade bends during cutting, it might be too long for the material’s thickness. Opt for a shorter blade.
3. Material Splintering
To prevent splintering, especially on laminates or veneers, use a down-cutting blade or place masking tape on the cutting line.
External Resources for Advanced Techniques
- Advanced Jigsaw Cutting Techniques
- Jigsaw Cutting Tips and Tricks
- Mastering the Jigsaw for Curved Cuts
Relevant Internal Links
- 5 Best Budget Jigsaw
- 10 Effective Ways on How to Get Polyurethane Off Hands
- 6 Best Jigsaw for Cutting Curves
